So you’ve been looking at mini splits to heat and cool your space, and now you’re down to the details. You got your eye on efficient, wall-mounted units like the Zone Air DIY 9,000 BTU 23 SEER2 115V wall mount—a solid option priced at $1,899.99 (marked down from $2,499.99) that promises to cover up to 450 sq ft. It’s tempting to just plug it into a standard outlet and be done with it. But here’s the honest breakdown: do you really get away with a simple plug-in or is a dedicated circuit necessary?

What You're Actually Looking at: 115V Plug-and-Play vs 230V Dedicated Circuit
Let’s start by addressing the core question. Mini splits come in two common voltage varieties when it comes to residential installs:
- 115V (or 120V) units which can often plug into a standard 15A outlet or a 20A circuit, no hard wiring needed 230V units which almost always require a dedicated circuit with its own breaker
Here’s the kicker: even with a 115V mini split like the 9K 115V wall mount or the slightly larger 12K 115V wall mount, you need to confirm what circuit you’ll be pulling power from. Before anything else, my go-to question is, “What breaker is this on?”
Why the Breaker Matters
So many installation headaches and safety risks come from mismatching breaker size and running large HVAC equipment on a circuit that’s not designed for it. Mini splits are efficient but still draw quite a bit of current, especially on start-up. Running a performance-rated unit on a shared standard outlet can trip breakers or create fire hazard scenarios.
If your 115V mini split specifies a minimum circuit breaker of 15 amps or greater, and your standard outlet shares that breaker with other appliances, you’re flirting with trouble. A dedicated circuit means the breaker exists solely to protect your mini split’s circuit wiring and equipment.
Pre-Charged R454B Quick-Connect Linesets: Changing the DIY Game
Now, one amazing innovation that’s changing installation landscapes is the pre-charged R454B quick-connect lineset. Works like this:
- These linesets come pre-filled with R454B refrigerant—a lower-GWP, next-gen refrigerant commonly used in modern mini splits like those found on Zone Air and MrCool units. They feature quick-connect fittings that snap together without requiring brazing, vacuum pumps, or charging gauges.
What this means to you: huge savings of tools, time, and certification headaches. Literally zero need for EPA 608 refrigerant certification or the dreaded vacuum pump and manifold gauges. If you’re DIY-ing or working with a small contractor, this can be the difference between an install slapped together versus a proper, lasting system setup.
Heads up though—using these quick-connect linesets still means you have to torque the fittings to spec. Skipping torque specs leads to tiny leaks over time that can turn into big leaks, costing you compressor replacements and service calls later.
Tool Savings and Certification Considerations
Tools/Certifications Traditional Mini Split Install Pre-Charged Quick-Connect Lineset Vacuum Pump Required Not required Refrigerant Gauges Required Not required EPA 608 Certification Required Not required Torque Wrench Recommended but often skipped MandatorySizing by Square Footage: Avoid the Oversizing Trap
Just because your mini split can technically power a space larger than 450 sq ft doesn’t mean you should just buy the biggest BTU unit available and call it a day. Oversizing is one of the most common mistakes I see—and it results in short cycling, poor humidity control, and wasted energy.
For example, the Zone Air DIY 9,000 BTU 23 SEER2 115V wall mount is specifically rated for spaces up to 450 sq ft. There’s also a 12,000 BTU https://sophiasparklemaids.com/what-does-torque-to-spec-mean-on-mini-split-quick-connect-fittings/ 115V version ideal for larger rooms, but no sense in going bigger "just in case"—unless you’re OK with suboptimal comfort and energy bills.
Measure twice, and I can’t stress that enough. Take account of ceiling height, insulation, window types, and room orientation. It may seem tedious, but skipping these measurements contributes to the infamous "small mistake that turns into big leaks" category—except in this case, it’s wasted money and discomfort.
Integrations: Smart Control with Amazon Alexa and More
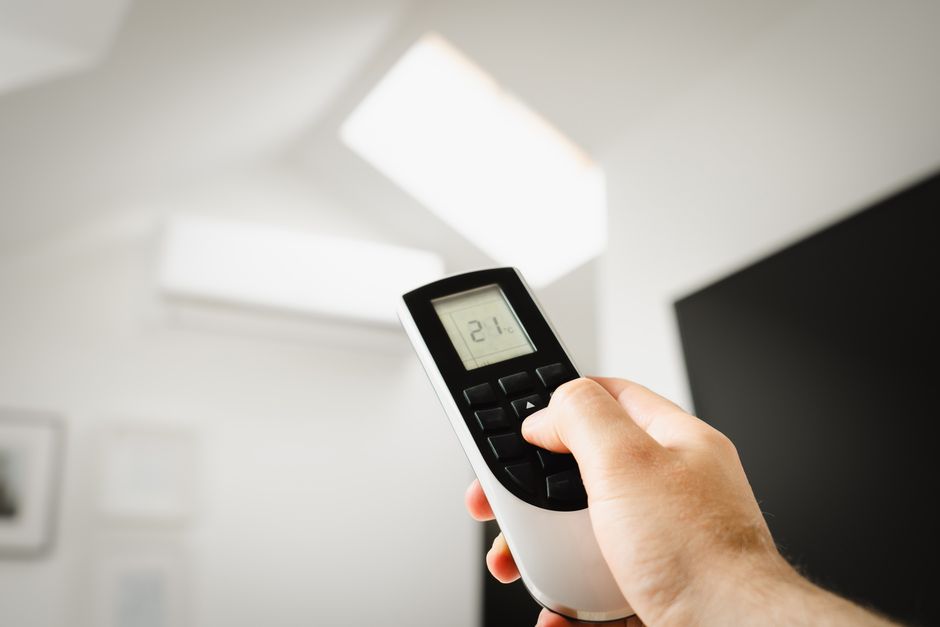
Many mini splits now include or support Wi-Fi connectivity, enabling you to control your system remotely via Amazon Alexa or other smart home platforms. This is a game changer for zoning comfort and reducing wasted energy—but remember, your control convenience cannot fix improper sizing or poor electrical setup.
Brands like MrCool have championed this convenience with easy-to-use apps and Alexa skills. So if voice commands to adjust temperature without hunting down the remote appeal to you, factor that into your choice—but again, don’t neglect the basics: electrical capacity, sizing, and proper connections.
The Reality: Can I Just Plug My 115V Mini Split Into a Standard Outlet?
The honest answer: sometimes yes, but usually no.
Check Your Existing Circuit: Is your planned outlet on a dedicated 15A circuit breaker with no other major appliances drawing current? Confirm Unit Electrical Specs: Verify the minimum recommended circuit breaker and outlet amperage for your mini split model. Inspect Outlet Condition: Don’t ignore outlet wiring age or condition—it must be up to code, grounded, and capable of sustaining continuous load. Consult Local Codes: Some jurisdictions require dedicated circuits for HVAC equipment regardless of manufacturer recommendation.For most cases, if you want a “plug-and-play” experience with a 115V wall mount mini split, plan on either running a dedicated circuit or upgrading an existing outlet circuit to meet the amperage requirement and code compliance.
Final Pro Tips Before Buying
- Always ask: “What breaker is this on?” Know your electrical panel before committing. Measure your space carefully. Think beyond floor area—include wall measurements, ceiling heights, and insulation. Opt for pre-charged R454B quick-connect linesets if DIYing—with proper torque instructions, you save time and avoid certification headaches. Skip oversizing BTUs “just in case.” Right-size for comfort, efficiency, and long-term happiness. Consider smart integrations like Amazon Alexa support if you want more control convenience.
Where to Find Reliable 115V Mini Splits
Zone Air offers competitively priced options like their DIY 9,000 BTU 23 SEER2 115V wall mount, which currently runs about $1,899.99 (was pre charged mini split vs conventional $2,499.99). This unit pairs well with pre-charged linesets and is perfect for up to 450 sq ft spaces.
MrCool is another brand to watch for accessible installs with smart-home compatibility, making it a favorite for tech-savvy homeowners.
Summary Table: 115V Mini Split Installation Reality Check
Factor Plug into Standard Outlet? Dedicated Circuit Needed? Breaker amperage rating Only if ≥15A and no other loads on circuit Recommended otherwise Unit amperage draw Must be less than outlet circuit rating Yes if exceeds or close to rating Local electrical code Must comply Required in many areas Installation type Simple plug-and-play models Hard wired smaller or larger modelsIn other words: your 9K or 12K 115V wall mount mini split might look like it’s just waiting for an easy plug—but don’t unplug your breaker panel just yet. Confirm the breaker, respect torque specs on pre-charged linesets, know your space size, and plan ahead. That’s how you save money, get comfort, and avoid calls to a stressed-out service tech down the road.
```